

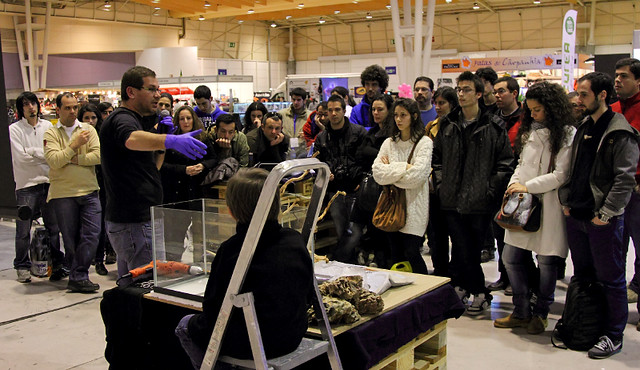
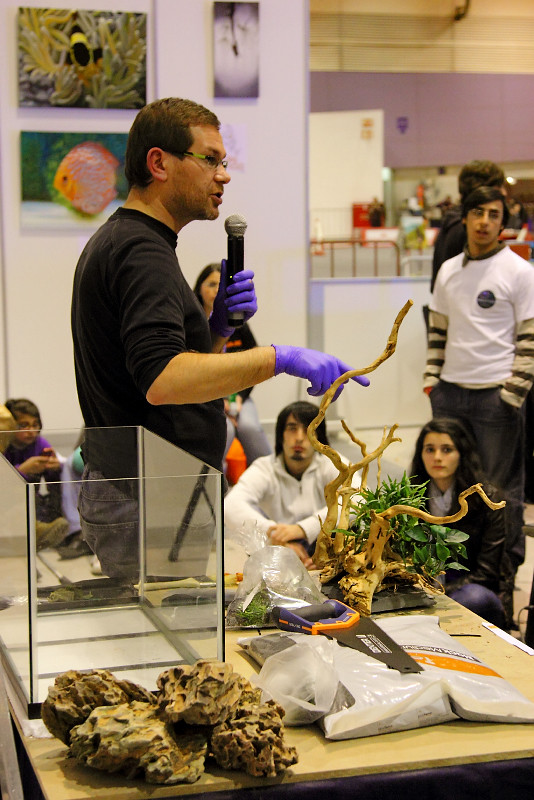
During 11 of February, I have been in PETFestival in FIL Exhibition Center doing a workshop of planted aquariums organized by Aquariofilia.net, the biggest Portuguese forum of Aquarium hobbyist. This time I decided to use different tools to setup an aquarium and tried to demonstrate that is possible to use different methods and the reason of don't have tweezers, it isn't an excuse to setup a Low demanding planted aquarium... we just need to adapt to the circumstances and use our imagination!
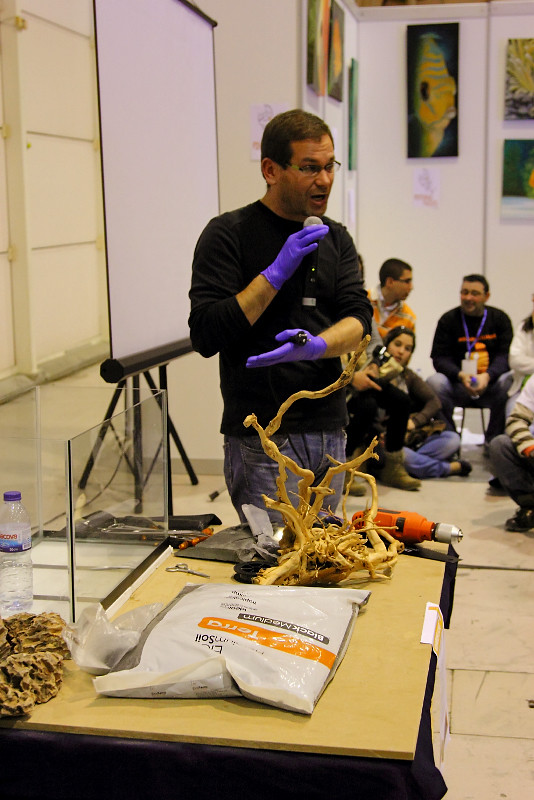
An Electric drill, plastic ties, bucksaw and nylon fiber (fishing line) were the used tools to setup the aquarium; I will explain how I did it ;-)
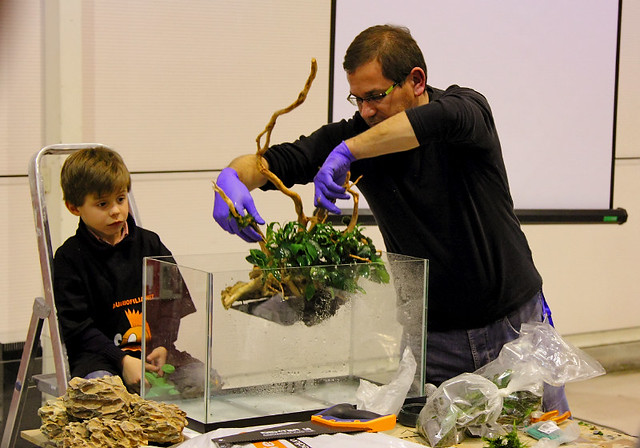
Doing a brief introduction of what I intended to do.
Showing the tools, hardscape, soil and the aquarium used to setup.
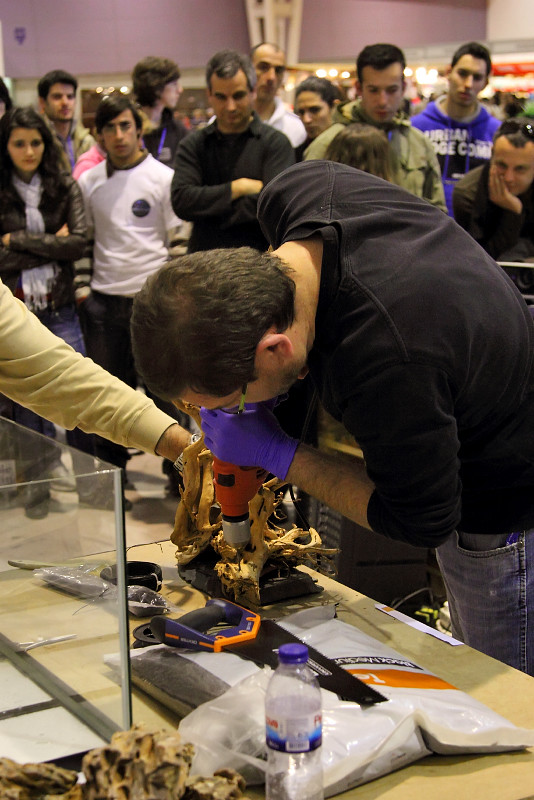
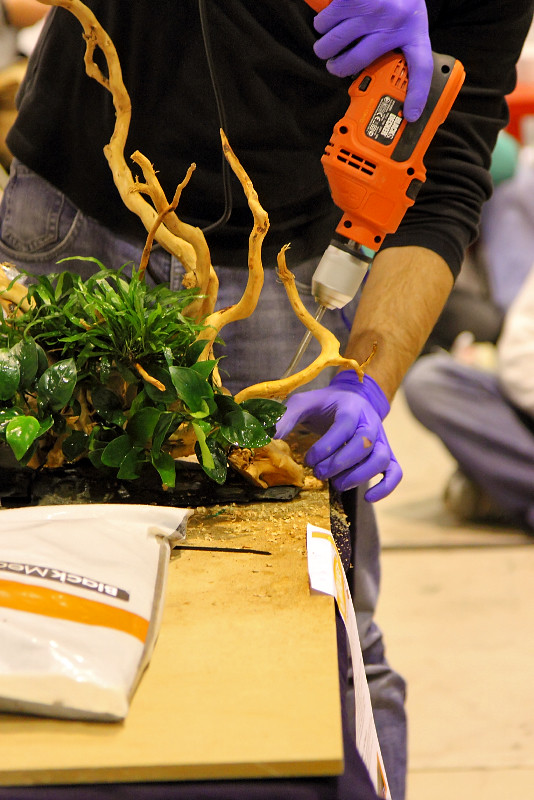
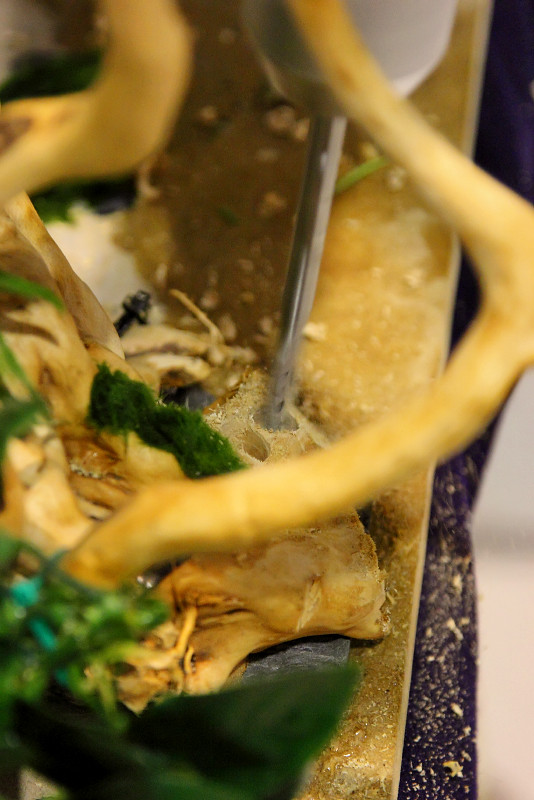
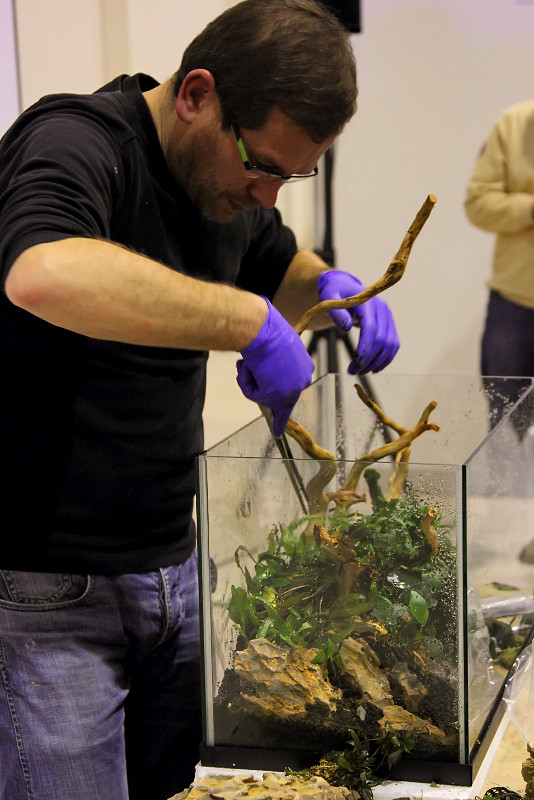
Using the electric drill to make some holes on the schist plate, where I will fix the wood to avoid that floats when fill the aquarium with water.
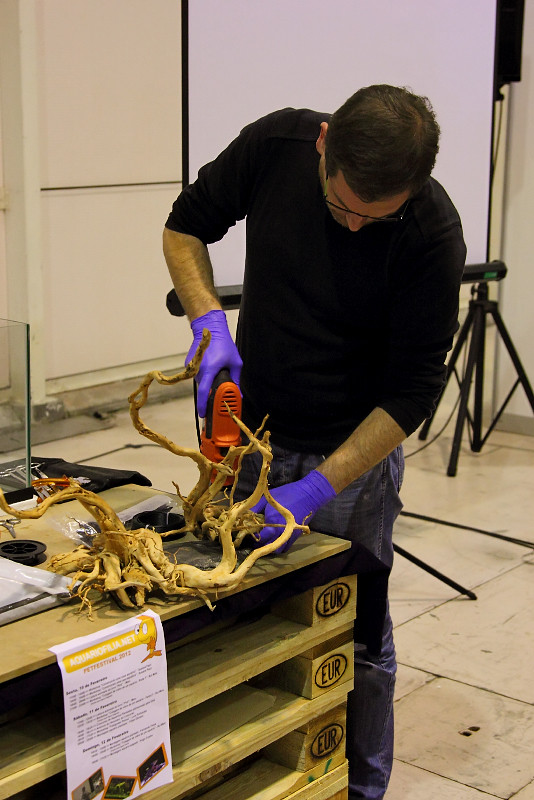
Some holes had to be done to fix the wood into schist plate with plastic ties.
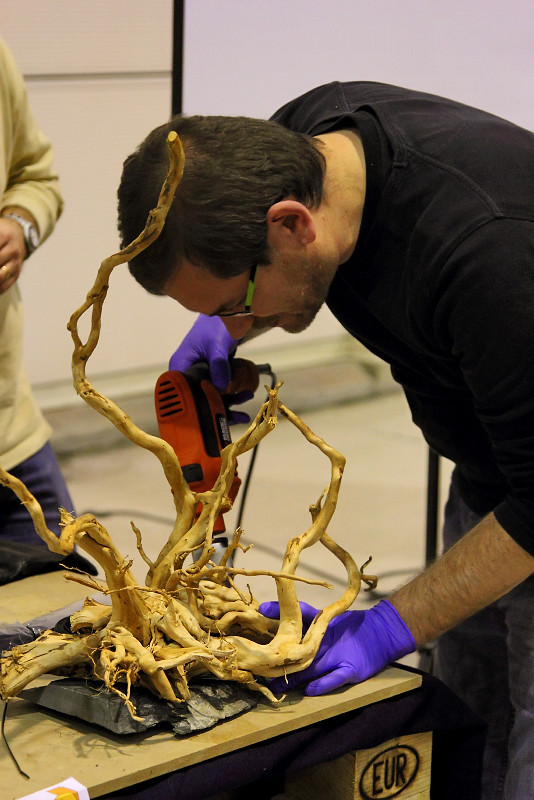
After made the holes on the schist plate, it was time to make some holes on the wood to fix both with plastic ties.
Fixing the wood to schist plate using plastic ties.

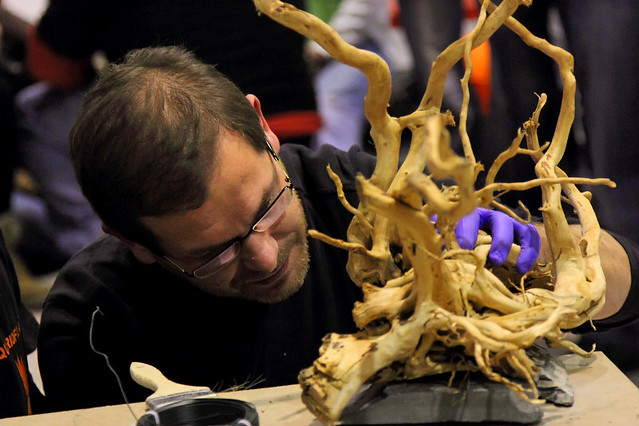
Wood already fixed to schist plate with plastic ties.
Another example ;-)
Once it was fixed, it was time to attach the plants into the wood using the same method of plastic ties fixation.
My son always available to help me on my setups; He is spraying water on the plants keep them always wet! Maybe he follow his father's steps someday!

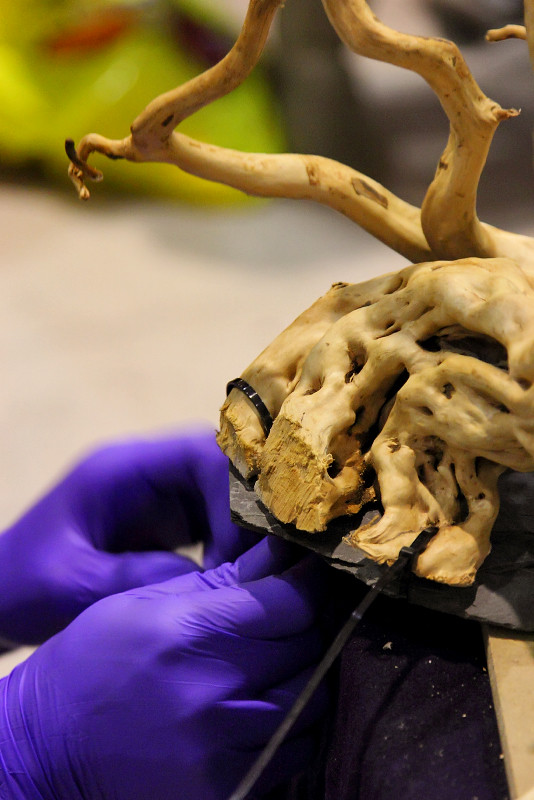
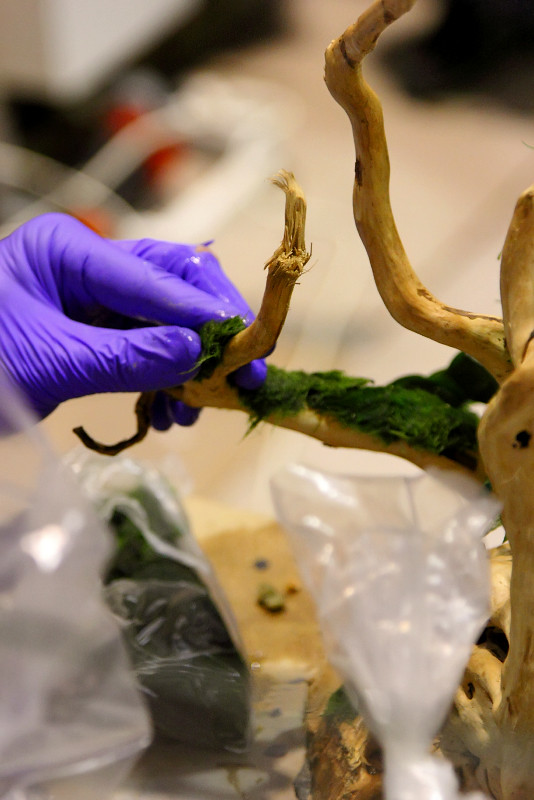
Attach moss or cladophora on wood's base sometimes is quite difficult to tie using nylon fiber (fishing line), so I improvised a little bit and made a few holes with a drill to add it with my fingers. See the following pictures.
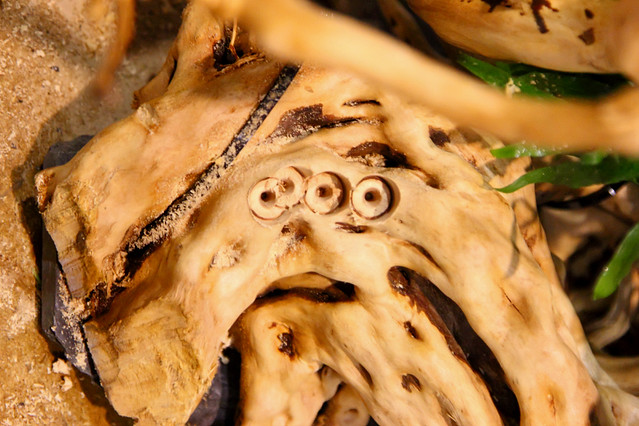

The problem when we use this method is that we make a permanent (visible) "damage" on the wood for future setups because the holes will be visible when wood is exposed, unless we use moss or any kind of plant on that position. Up to you to decide if it is reasonable or not to do it!
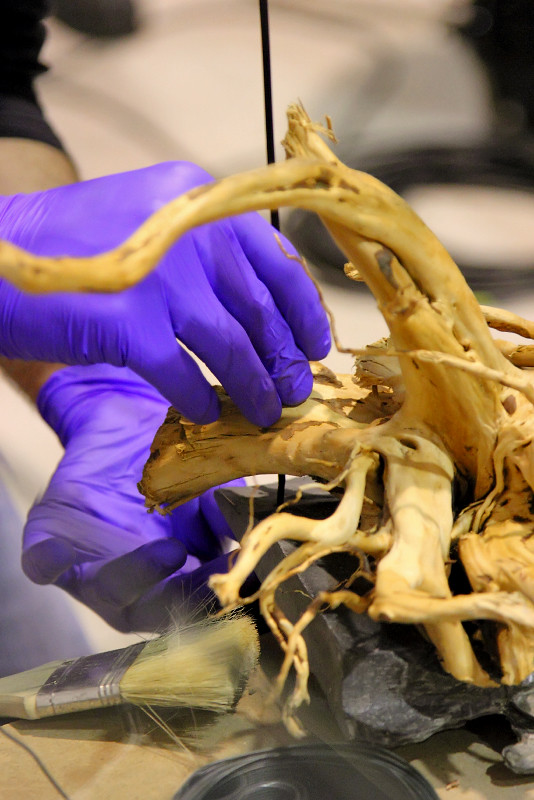
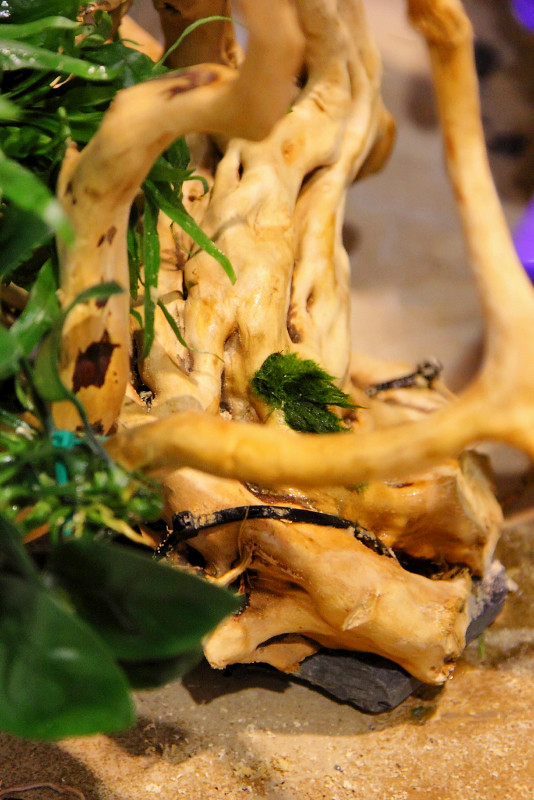
Another process to add moss or cladophora is to use nylon fiber (fishing line) to attach the plant into the wood. Place the plant all over the wood and tie it from the first point to last, and return crossing the line to get it highly fixed.
Same method but this time I was attaching the moss on other piece of wood.

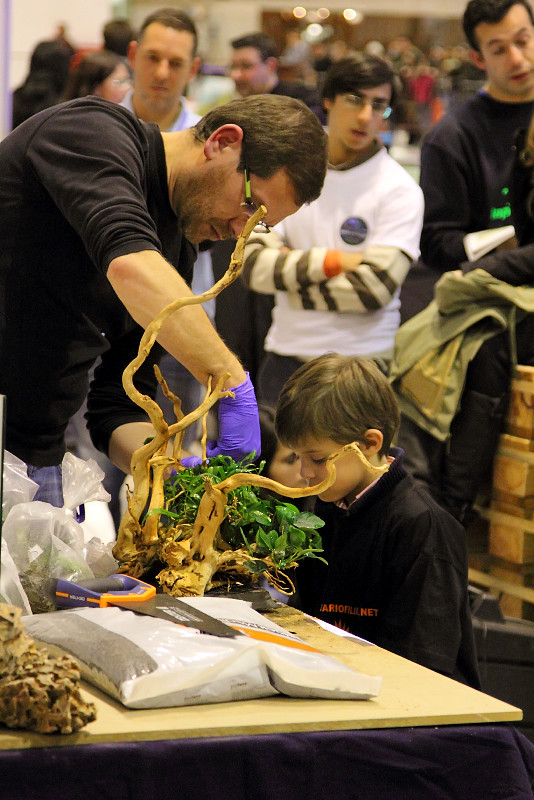
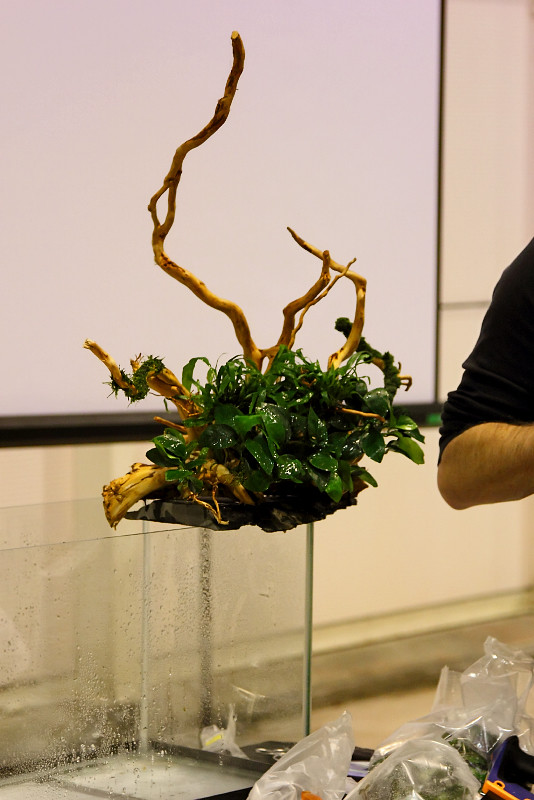
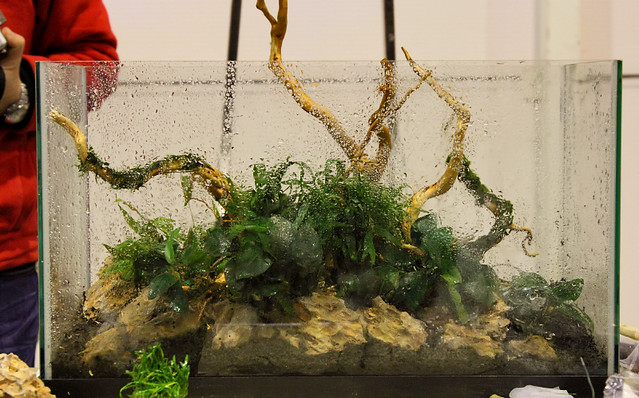
All plants were attached to the wood outside the aquarium, now it is time to see how it looks and if it fits inside of the tank...
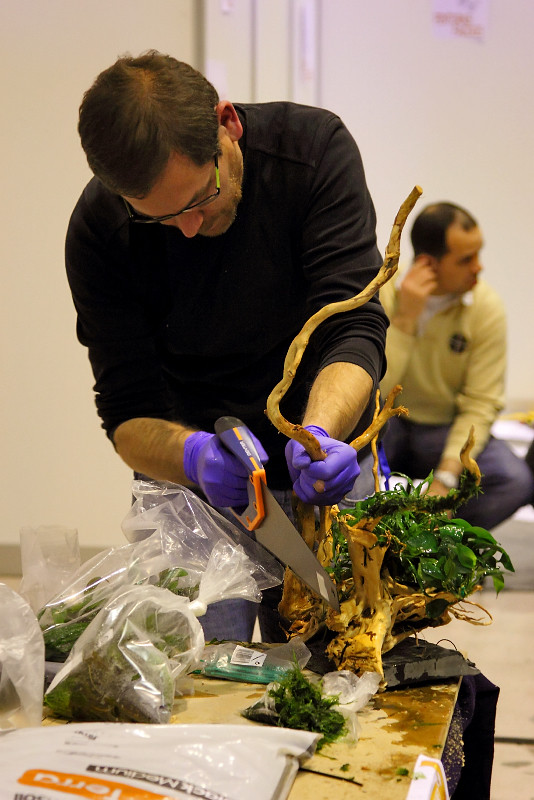
When I attached the wood on schist plate, the wood moved a little bit on plataform, so I need to improvise again...
Using a bucksaw I had to cut a part of the wood that was preventing to place the arrangement closer of background glass.
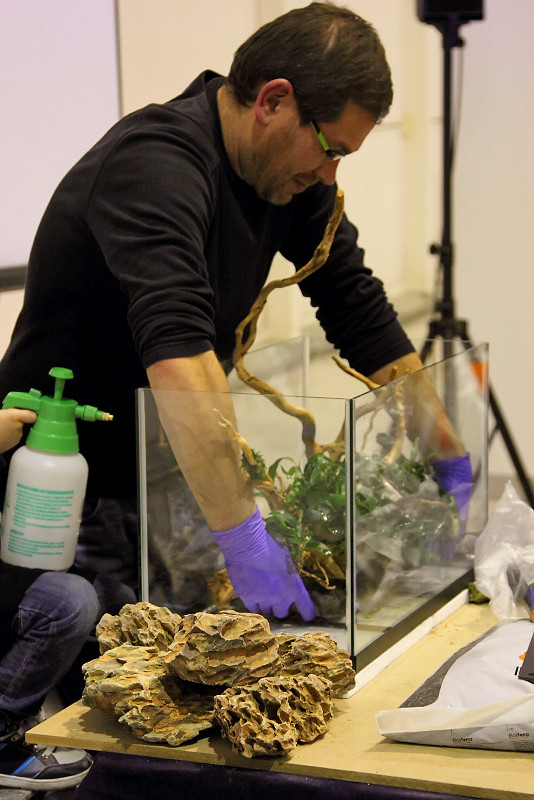
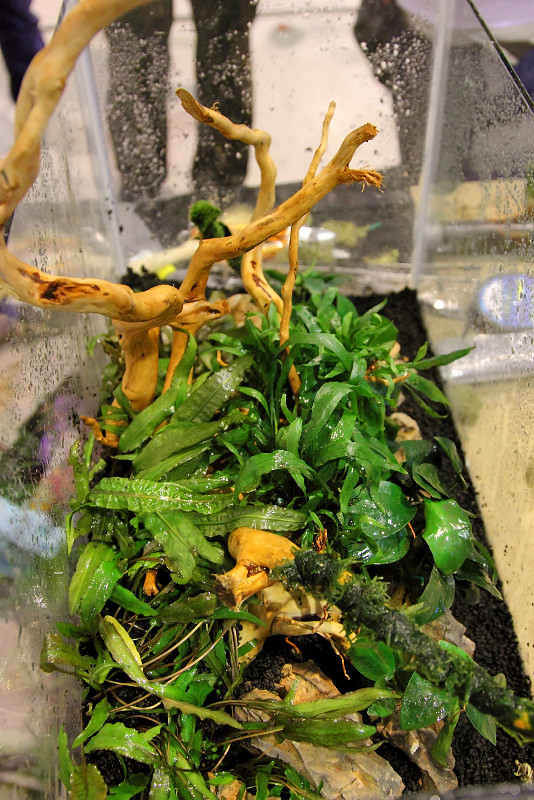
Arrangement ready to place on the right position; now it is time to add the soil (Elos BlackMedium Soil).
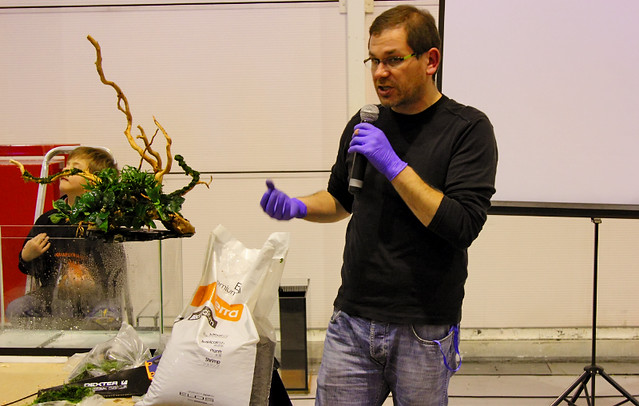
After added the soil and placed the arrangement (wood and plants), I have used some rocks to disguise, give more contrast and impression to the general layout. It was time to plant some Cryptocorynes using the right Aquascaping's tools (Tweezers)!
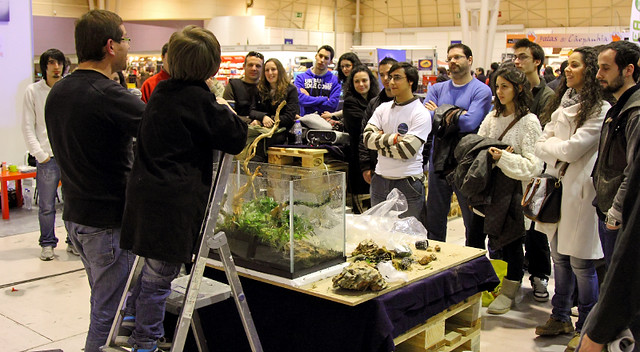
Answering to some doubts of audience.
Done...
1 comment:
Awesome :D
I think you did a great job with the materials you had. Excellent work my friend.
I'm dying to see the layout of the next weekend in Jardiland ehhehe
Cheers
André
Post a Comment